Email Catch All Forwarding on Cloudflare Free
This post is more than 18 months old. Technology changes quickly, so some of this content may be out of date (but that's not always the case). Please verify any technical or programming information against the current release.
Sometimes you want to set up a new project with a domain, but you don’t want to set up the whole email infrastructure. You could ignore the email, and hope people can track you down. Or you can add a catch all email at your domain to gather attempts from people to contact you. I opt for the second. Turns out there’s a free and easy way to do it on Cloudflare. Next steps below with screenshots.
In order to do this, we need to have our free Cloudflare account. Then, you need to have a domain registered and have its nameservers be pointed at Cloudflare. You don’t necessarily need to use them for their hosting/proxying services.
In this example, I had my email set up through a different service. I used chickenfacts.io as my domain. Here are the steps.
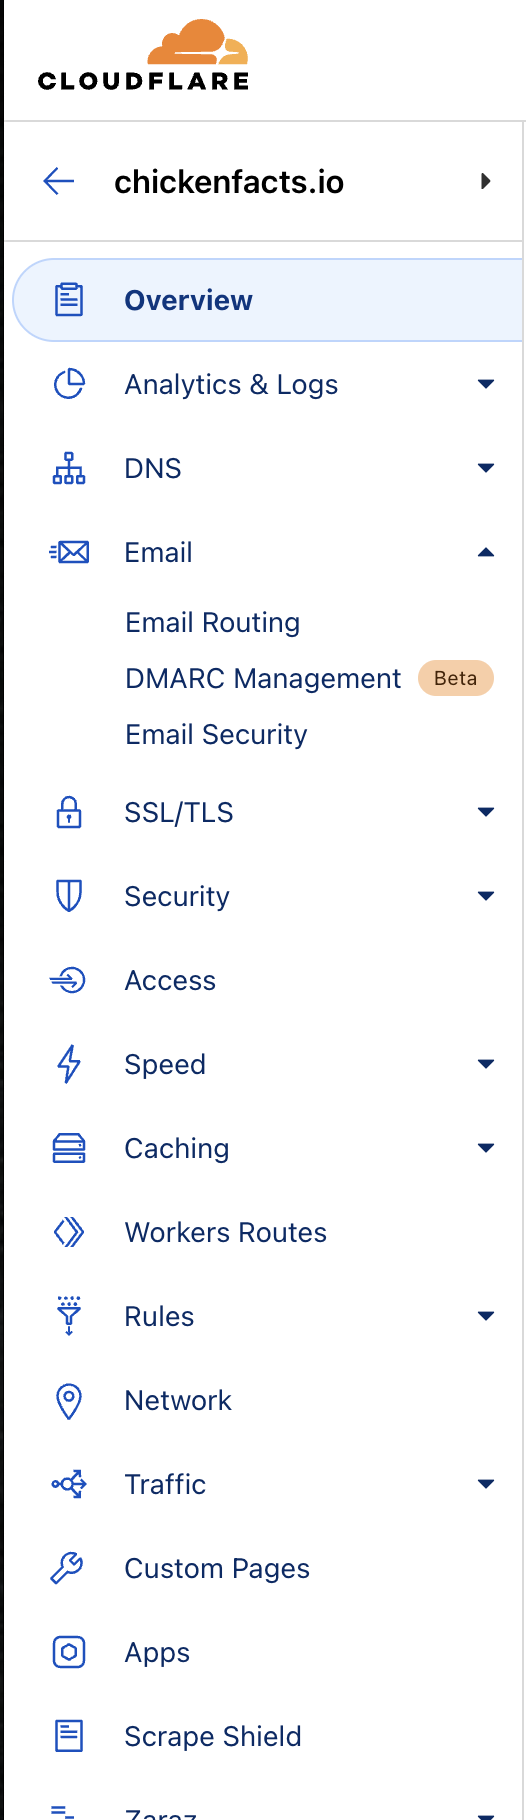
Log into Cloudflare and select your domain. Click the Email Routing option.
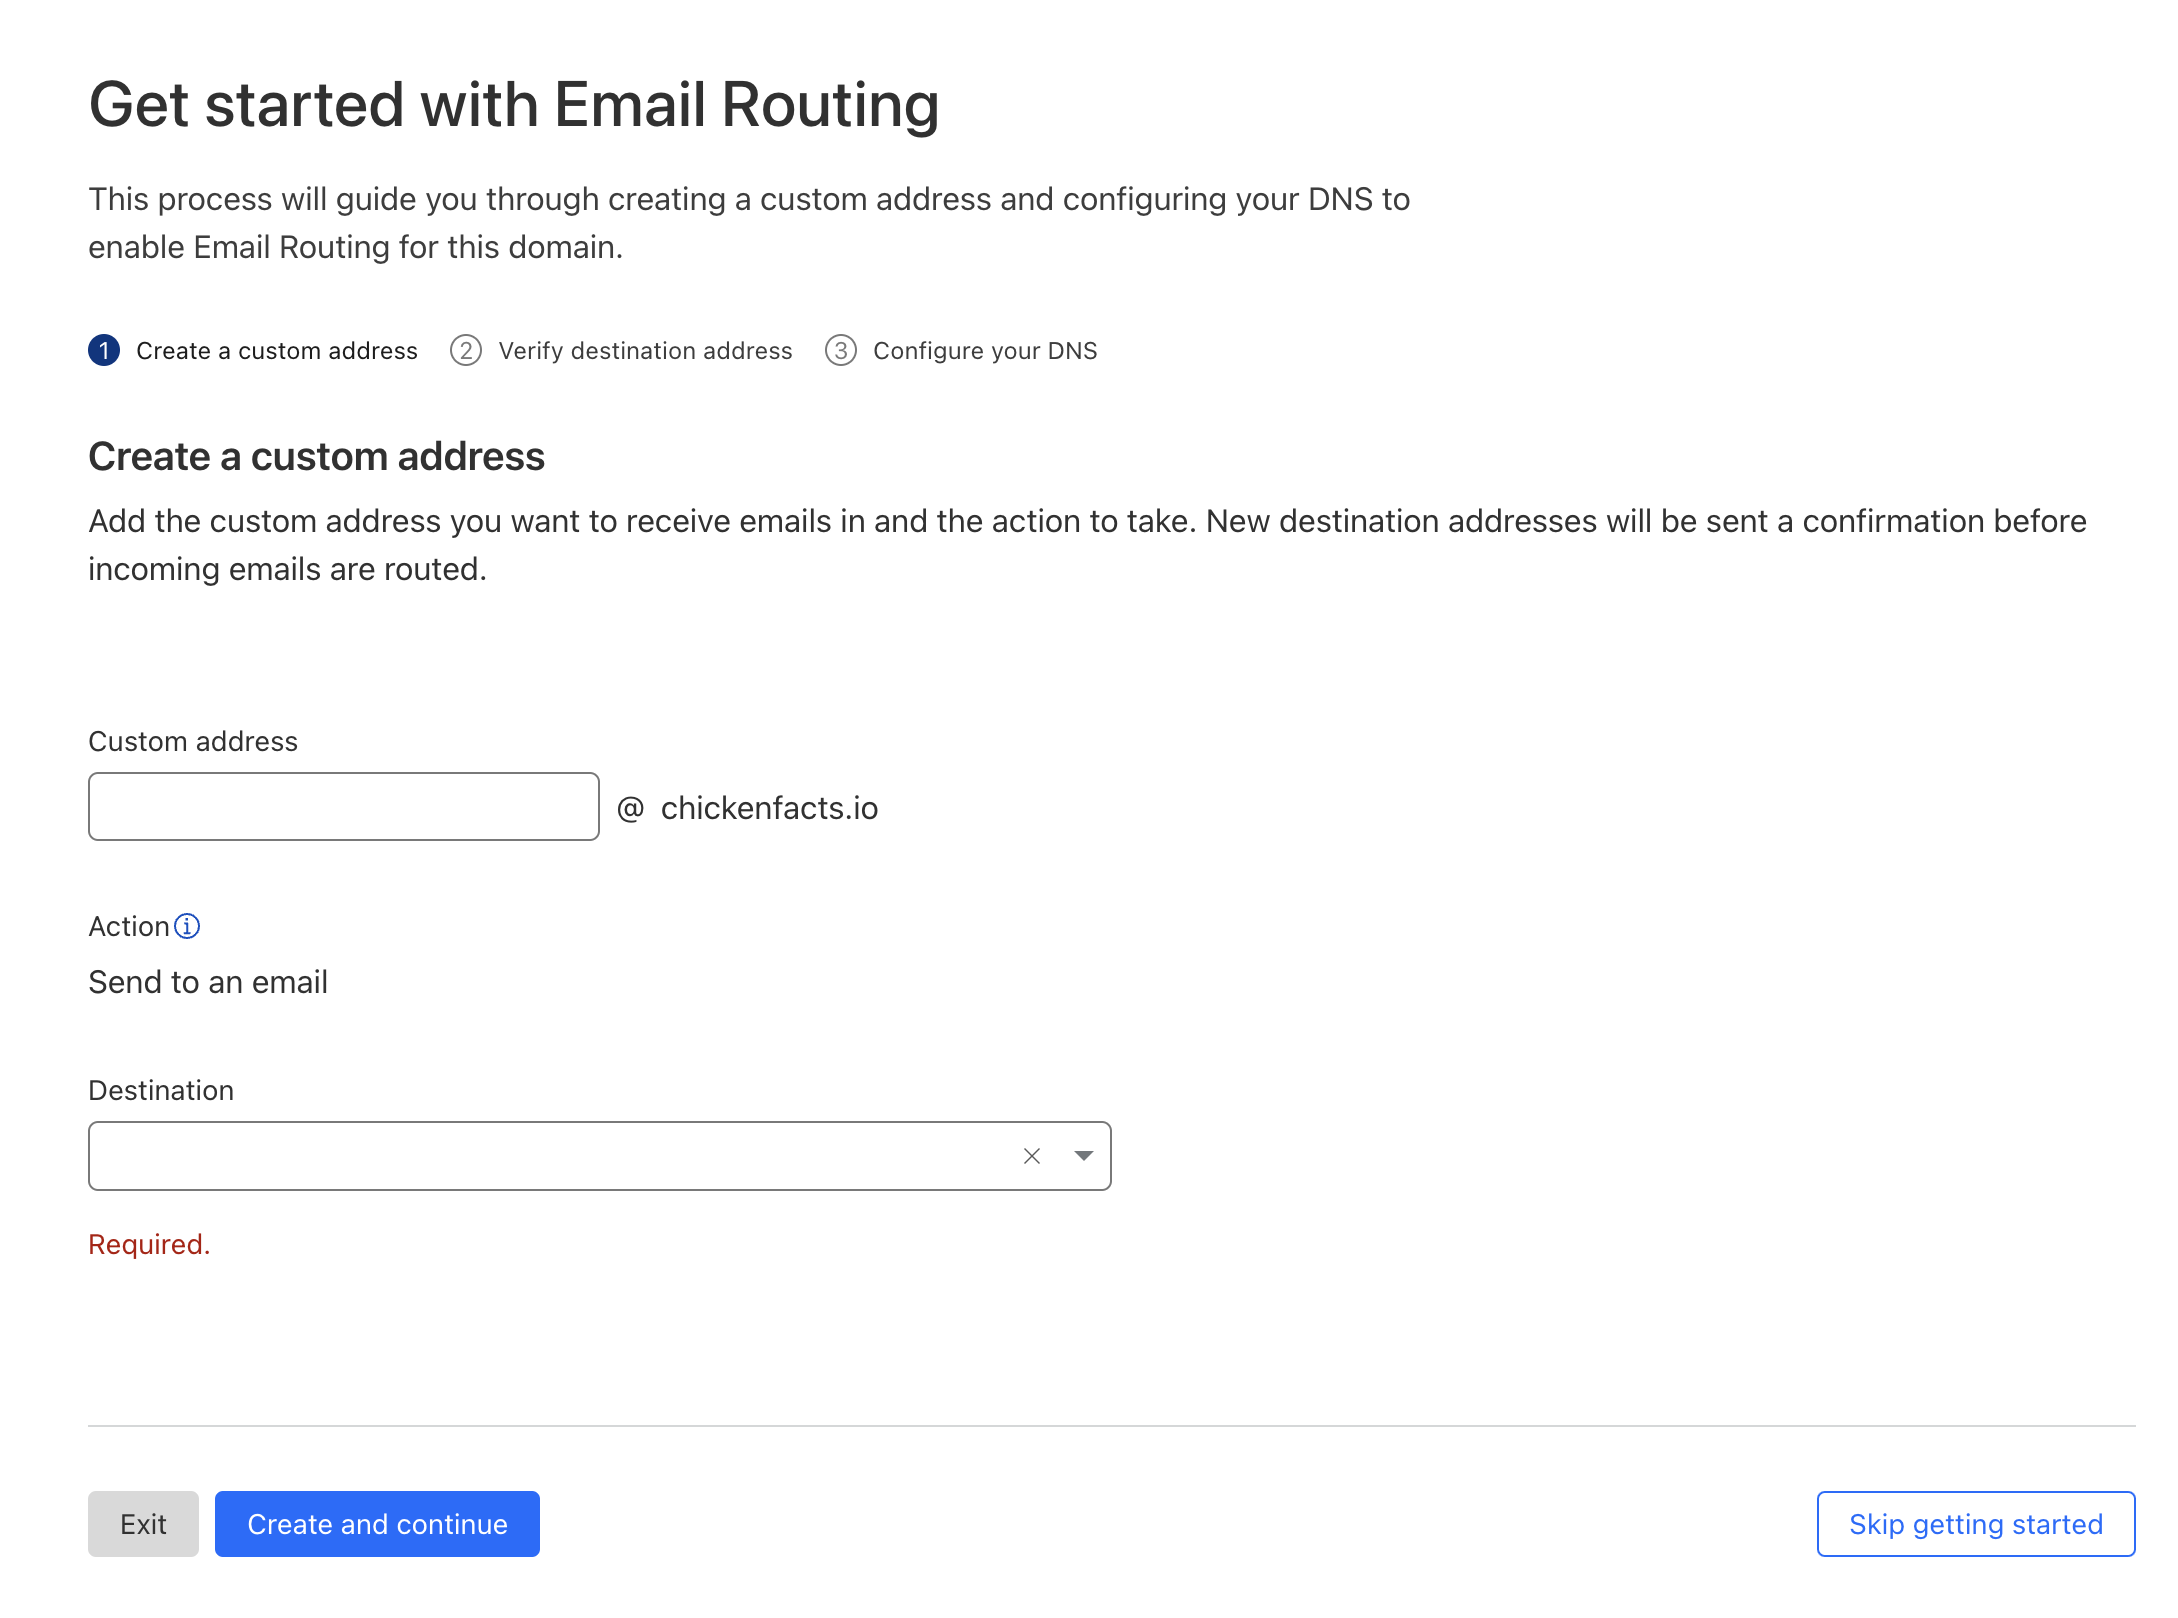
Skip any wizards I clicked Skip getting started here.
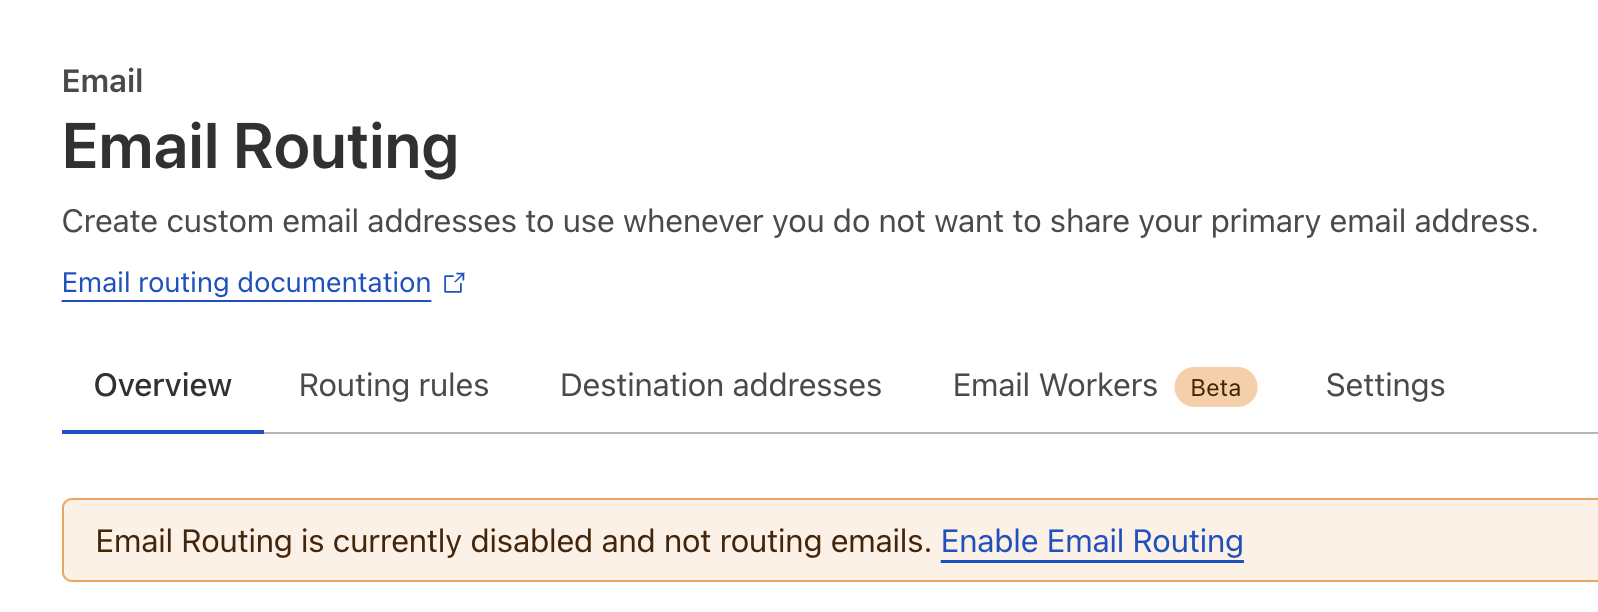
Next you get to the general Email Routing tab. Click Enable Email Routing
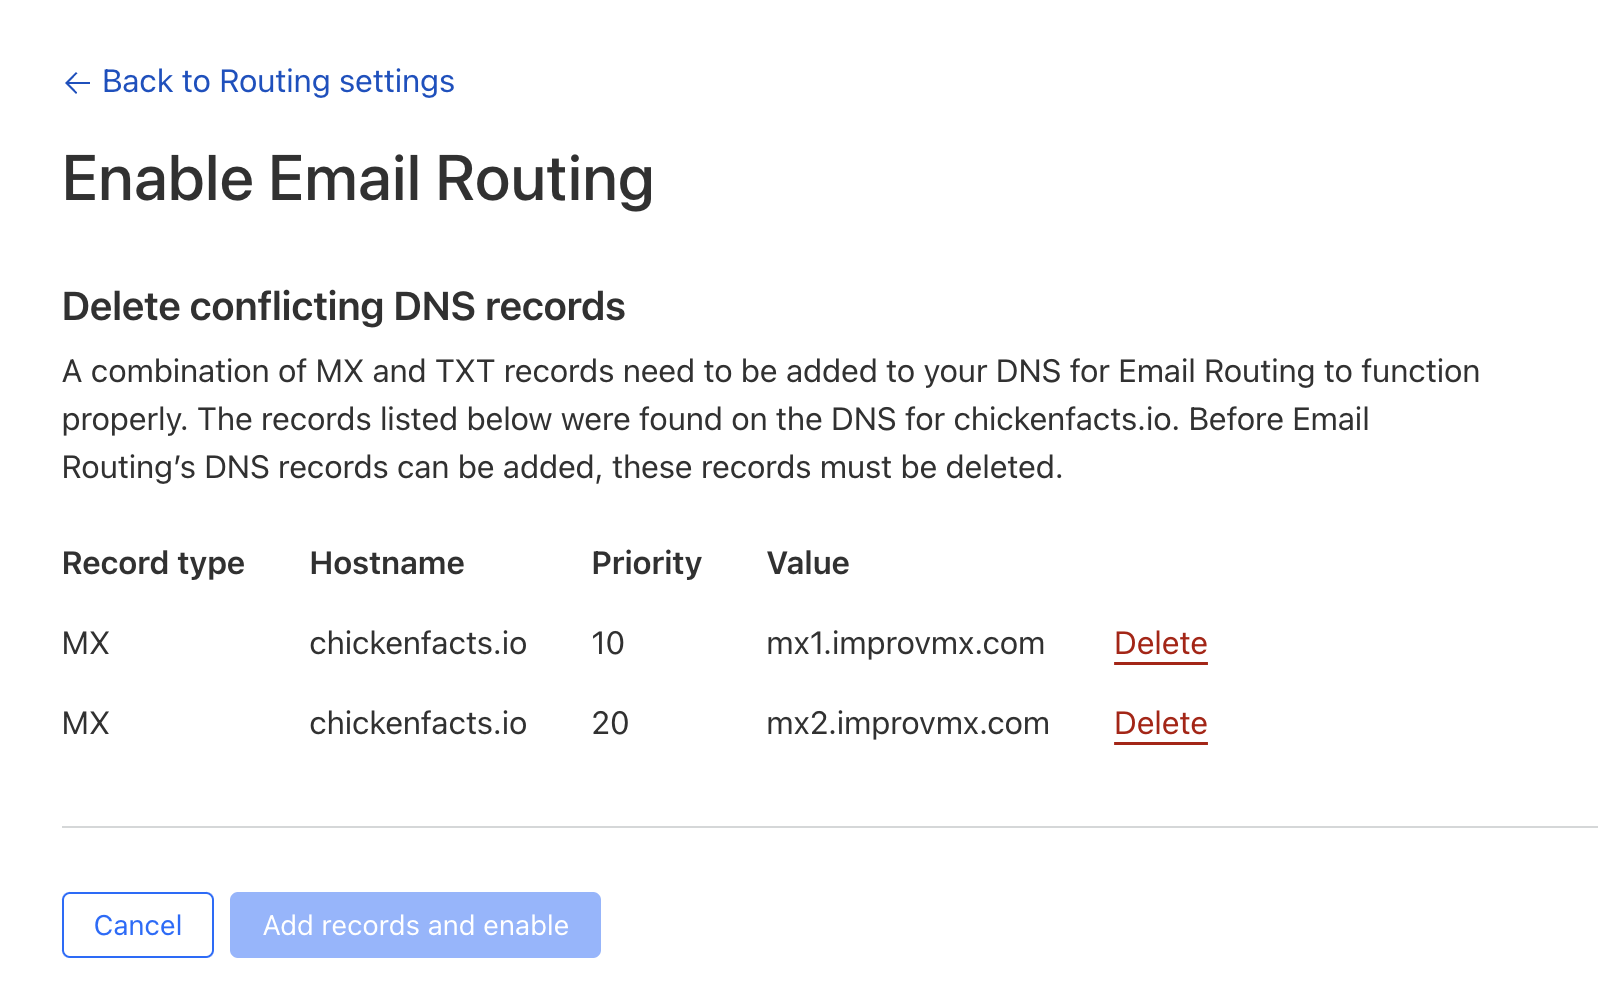
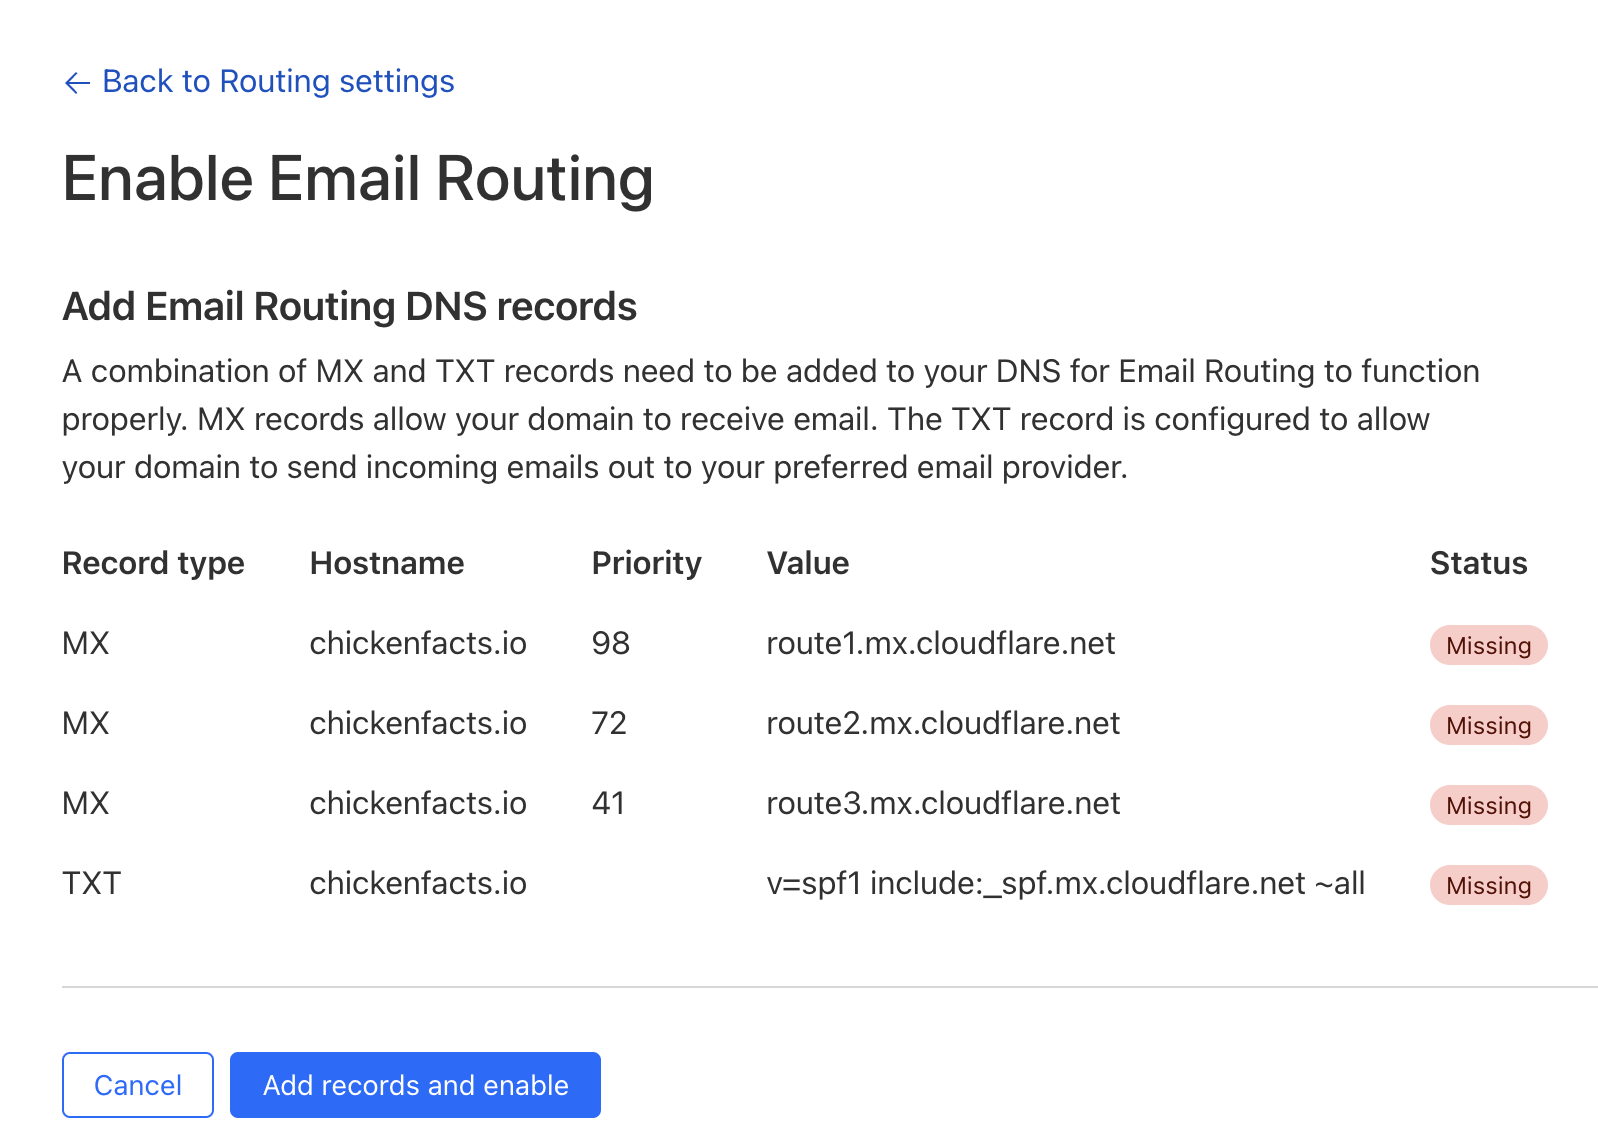
If you’ve already had this set up before, you may be prompted to remove MX records. You can not continue (the Add records and enable button is disabled) until you click delete on all of those.
It pops up the new records. You can then continue with these settings.
Now, your catch all email address set up. It’s currently disabled and if were enabled, would drop all messages. Click edit
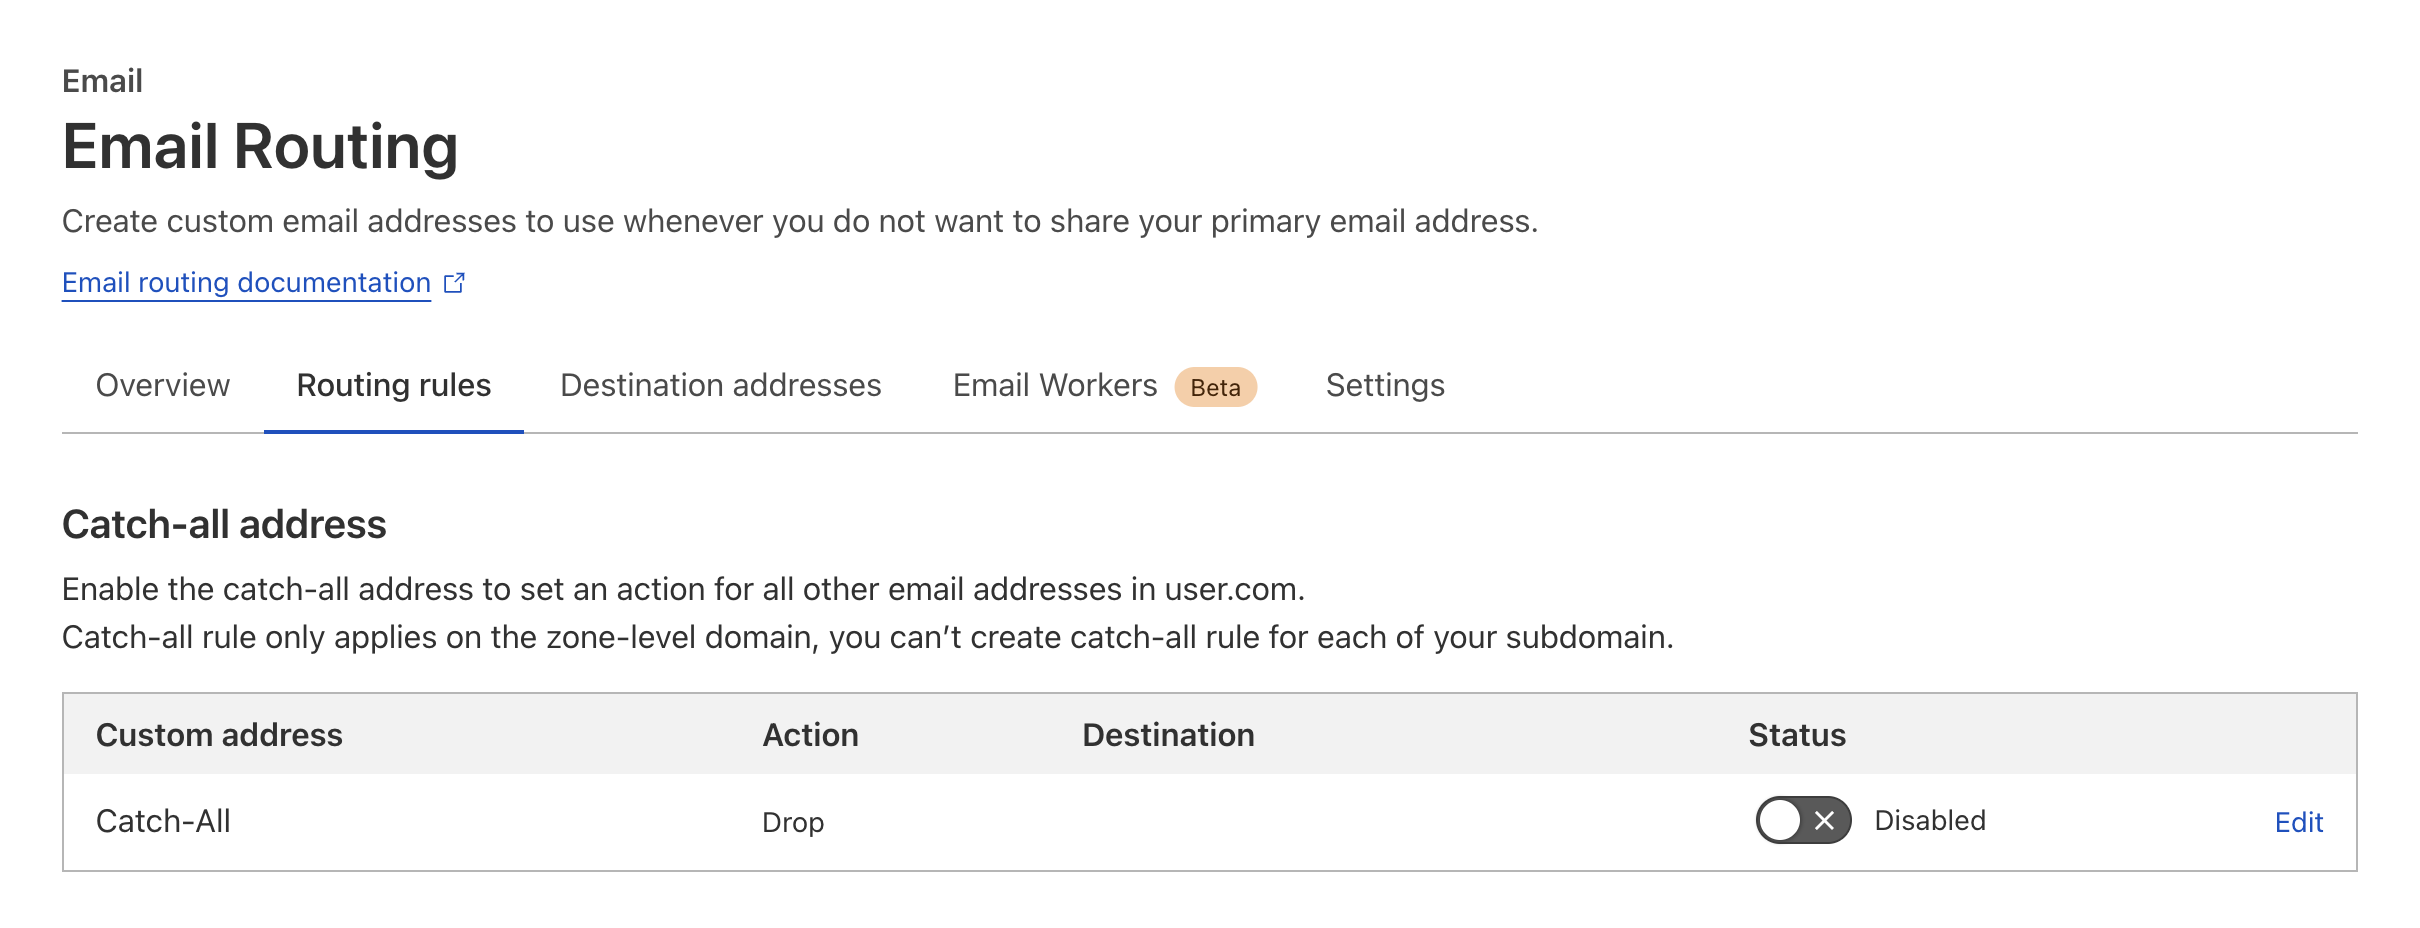
Next, chose Send to an email and enter in the destination for your catch all. Here is my business address.

After you click save, make sure to enable the setting.

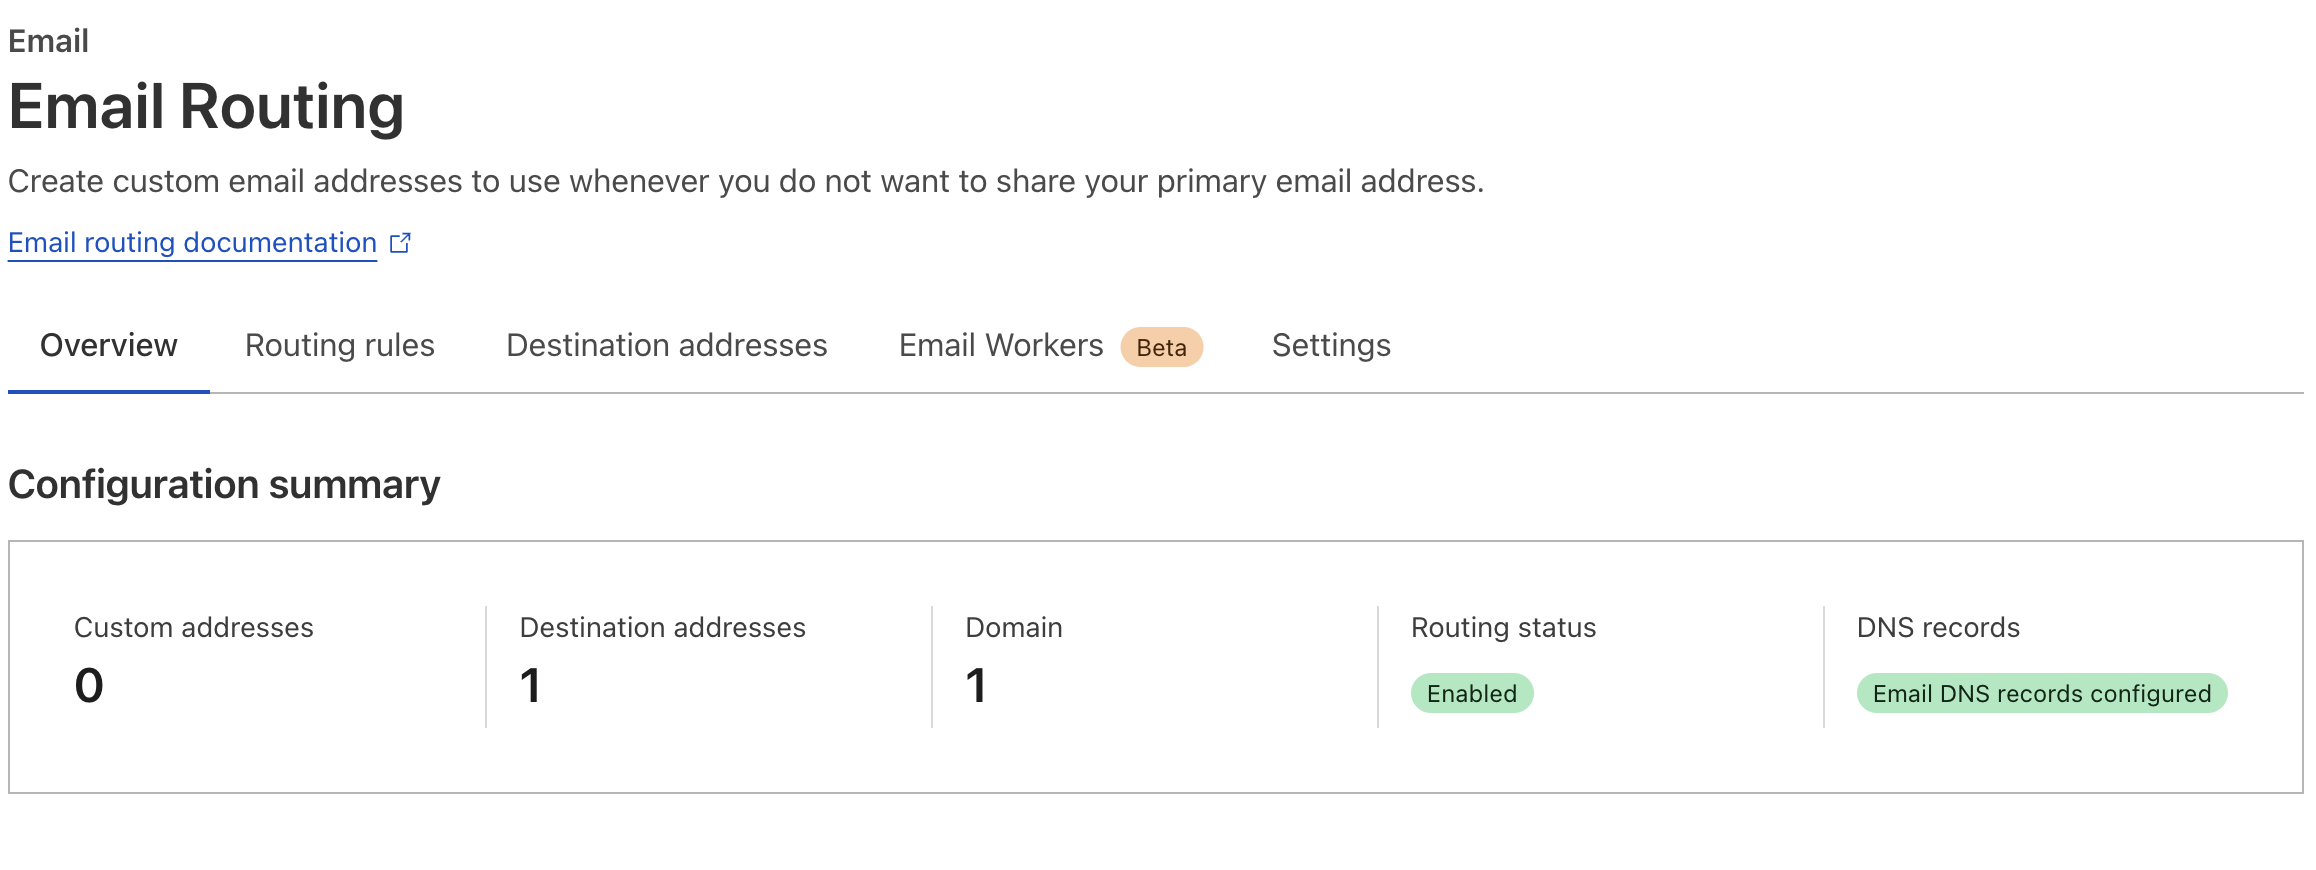
Now your email will be set up.
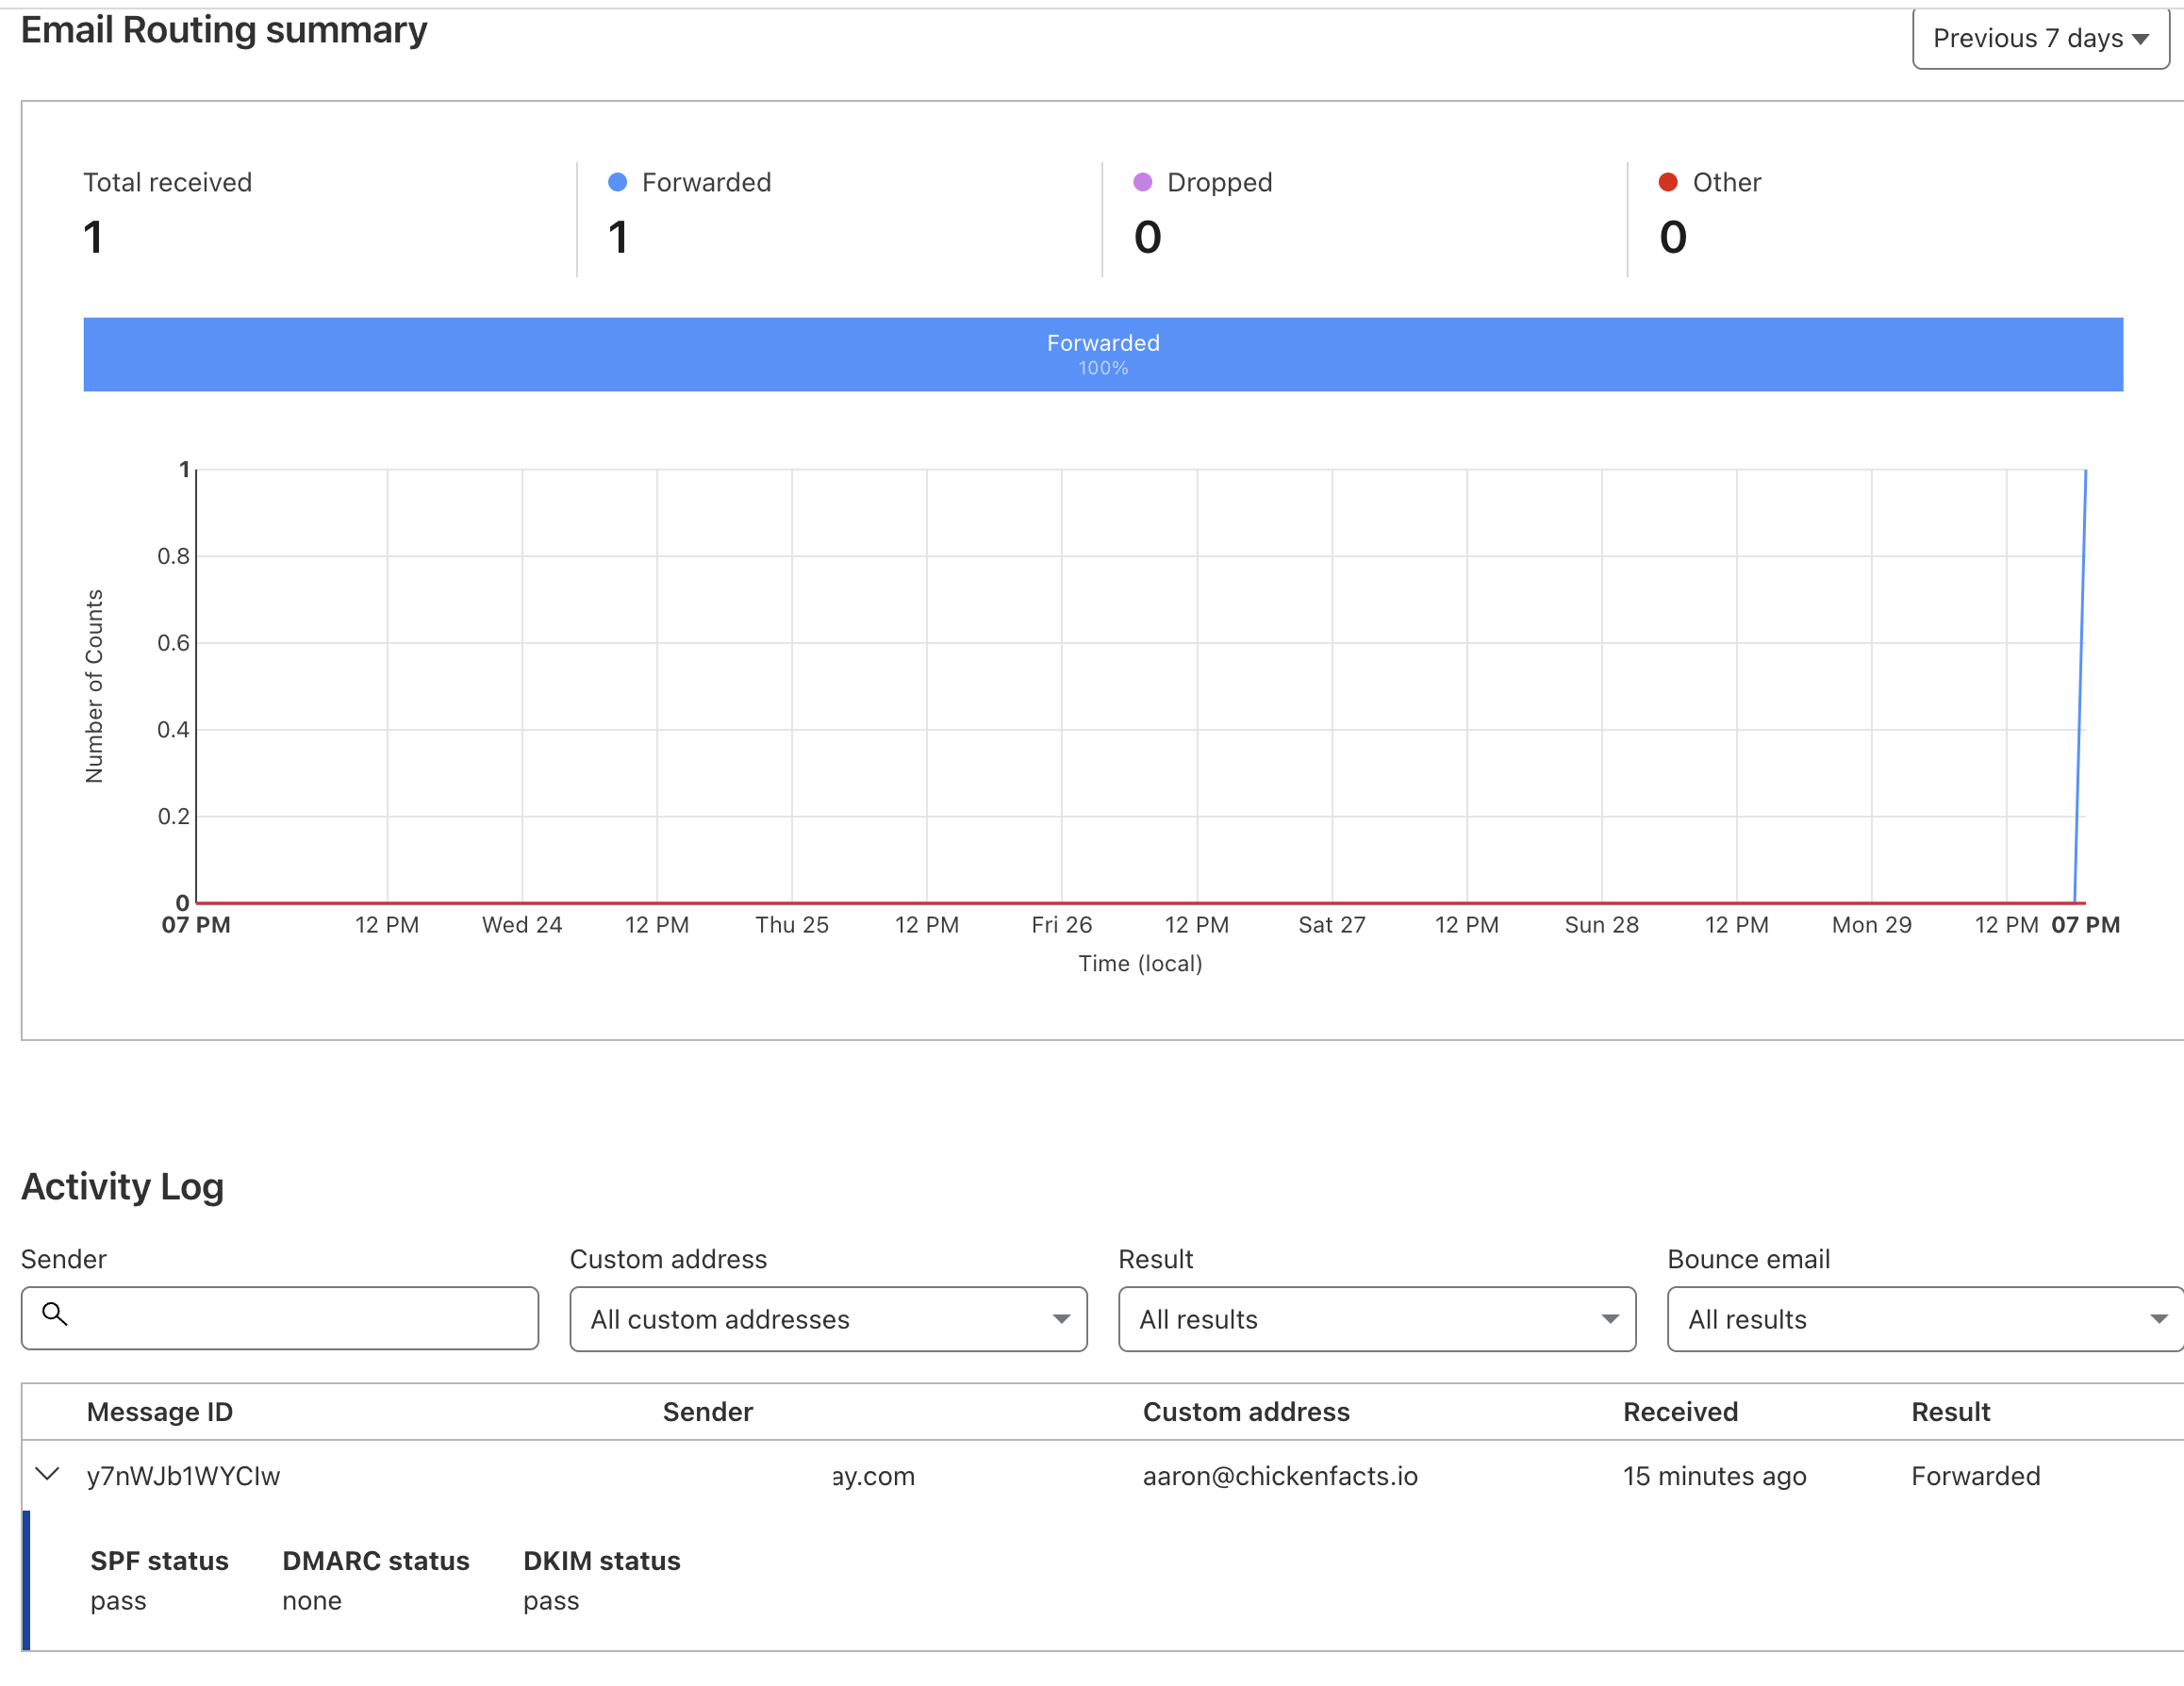
And here is it working. You don’t get to see the content of the message, but you get to see the meta.
And there you have it!