Run Plan 9 in VMWare Fusion (on Mac)
If you’re not familiar with Plan 9 from Bell Labs, its about time you did. Plan 9 is one of the first GUI operating systems, the precursor to most of the experiences that we now take for granted. I knew a bit about it, but I wanted to actually use it. And, not having a computer laying around from the 1980s anymore, the next best thing was a virtual machine.
For this blog entry, I’m going to be using VMWare Fusion 11 on MacOS Catalina. That doesn’t mean that this won’t work on other virtualization services as well.
Let’s get started.
Initial Setup
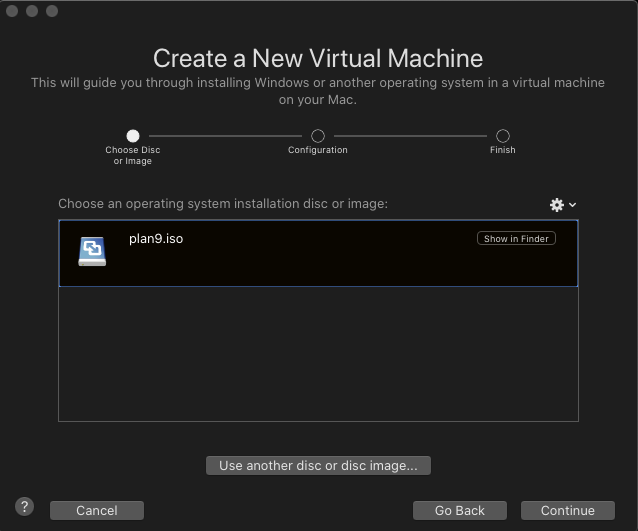
First, you must download the iso. You can find that from ArchiveOS.
bzip2 -d plan9.iso.bz2
Now, configure VMWare new virtual machine, using the Plan 9 iso as a boot disk. Drag the Plan 9 iso into the new dialog.
When asked to choose an operating system, choose Other > Other.
Choose Legacy BIOS and continue.
These standard settings should suffice.
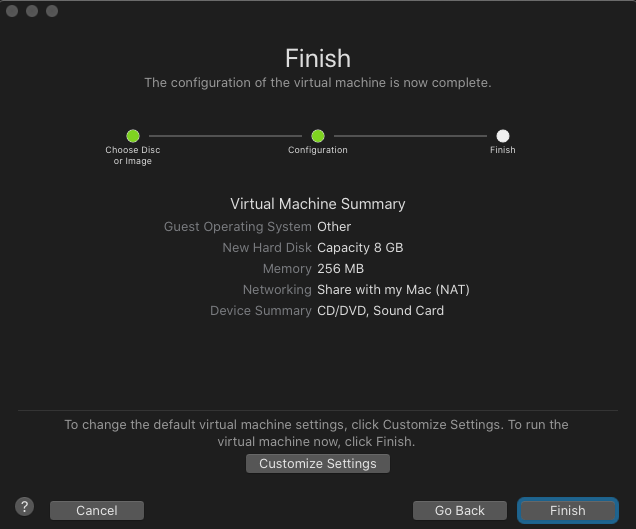
I chose Plan 9 as the Virtual Machine name and got it started.
Installation
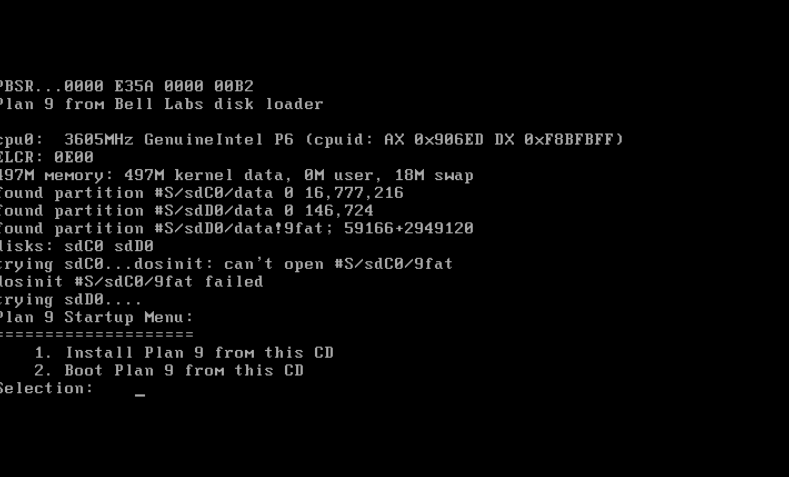
Now, the VM has started.
Given an option to Install or run Plan 9, choose type 1 for installation.
When or if prompted for these questions, here are the answers:
- Use DMA for ide drives:
yes - mouseport is:
ps2 - vgasize:
1024x768x32 - monitor is:
xga
At this point, I got an error that rio windows manager failed to start. You can still do the install by following the instructions and typing inst/textonly
The installation will ask instructions, just accept the defaults through the install. You will use configfs to make a fossil file system. Then you’ll run partdisk and partition your VMWare Virtual IDE Hard Drive. Mine was configured as sdc0. I chose to write the mbr with y and then followed the suggested instructions with w and q. Then, it ran prepdisk and chose /dev/sdC0/plan9 as default partition. I was able to accept the changes with w and then entering q as suggested. Next, fmtfossil was ran followed by choosing /dev/sdC0/fossil. Finally, mountfs was ran and /dev/scC0/fossil was chosen.
After this, configdist was suggested and ran, choosing local as the source for downloads. mountdist was required to be ran. It asked for a source and I chose the iso cdrom which was /dev/sdD0/data.
This part I was a bit confused. It asked to find the location of the dist and suggested browsing. It’s just at the root, so you can just type /.
Next, I ran the suggested copydist. Along the way, you should see your progress:

Next, we will run bootsetup and choose plan9 as a boot method. Choose y to install the Plan 9 mbr. Finally, choose finish.
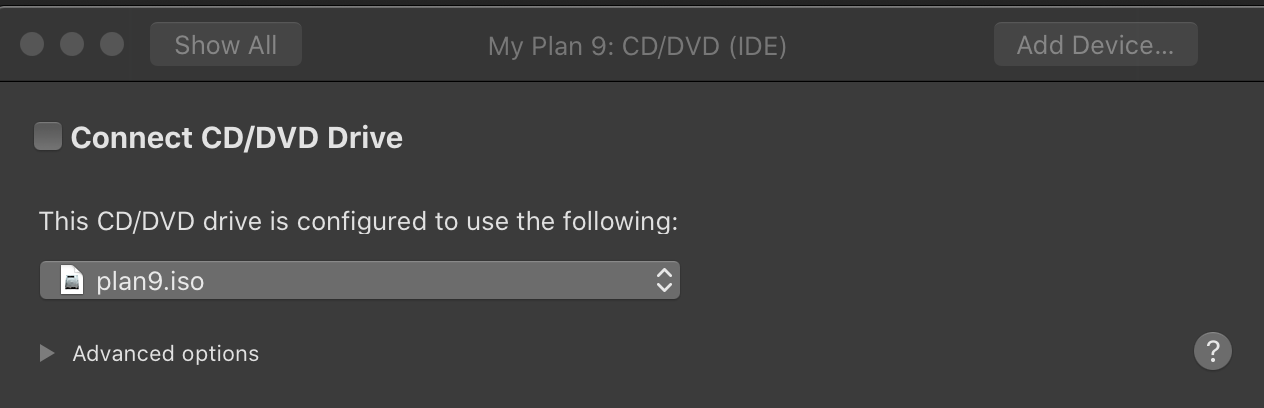
Now, you can turn off the Virtual Machine. Don’t forget to remove the mounted ISO. I just chose to remove the drive.
When you reboot, you’ll be asked where root is from. You can choose the default local

Then, it will ask for an auth user. Type glenda and boom you’re in!
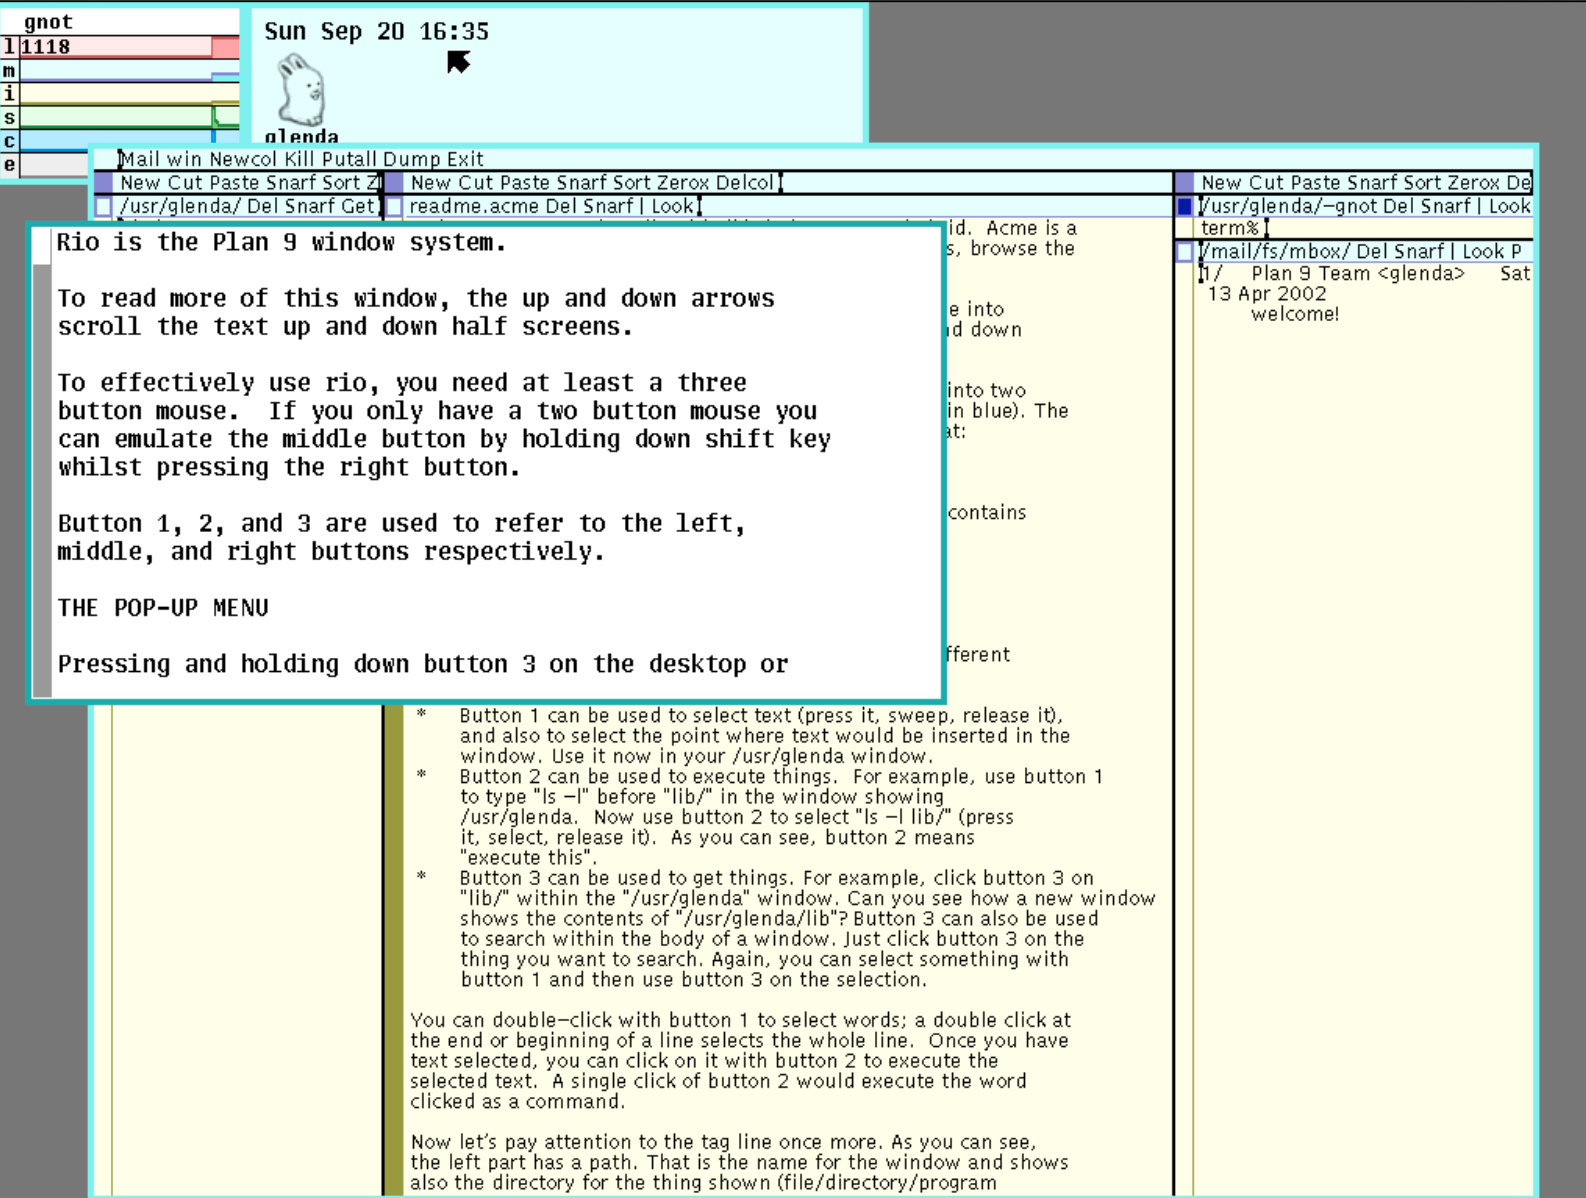
Helpful tip read the install instructions to learn how to use the Rio window manager.
End Notes
I want to thank Mike Bland, a Video from Chris McGee and 9P.io for their wiki entries and indirect help. If it weren’t for the work they did and published, I’d be spending tons of time in the old news groups trying to get this all to run!