Using Developer Tools in Chrome for Testing
In a perfect world, when testing your website you’d have a giant device library, a number of different internet connection speeds, and a bunch of users using the system simultaneously. A perfect world? Pfffft. But, I can help you at least get close to this set of requirements for your test. Let’s see how we can use Google Chrome to simulate different devices and change our internet connection speeds.
Getting to Developer Tools
If you’ve never used developer tools (you’re probably not a frequent visitor to this blog, then - so - Welcome!), it’s not as complicated as it sounds. And, you don’t have to be a developer to delve into the tools that we use daily. It’s pretty simple.
First, open Google Chrome. Then…
Windows Hit F12 and you should see developer tools.
Mac Hit Shift-Command-I and you should see developer tools.
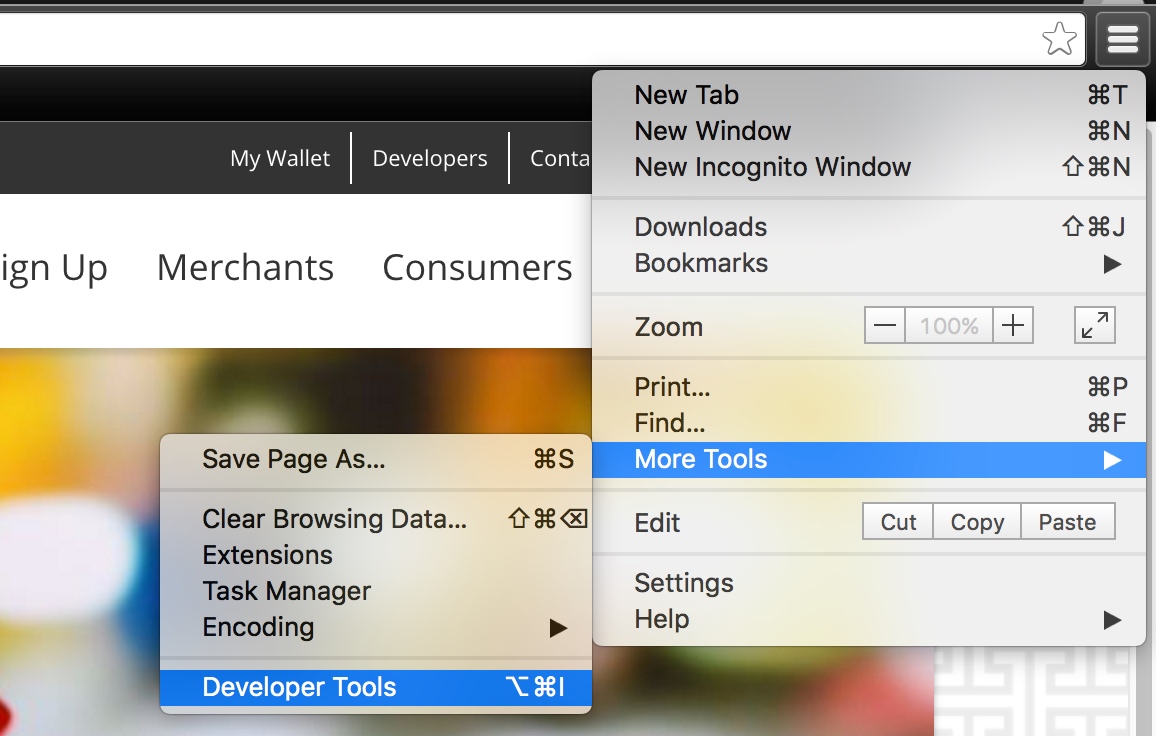
If neither of these is working, click the hamburger menu on the right hand side of Chrome, go to More Tools and choose Developer Tools.
Once this happens, you should see the developer tools at the bottom of your current browser screen like this:
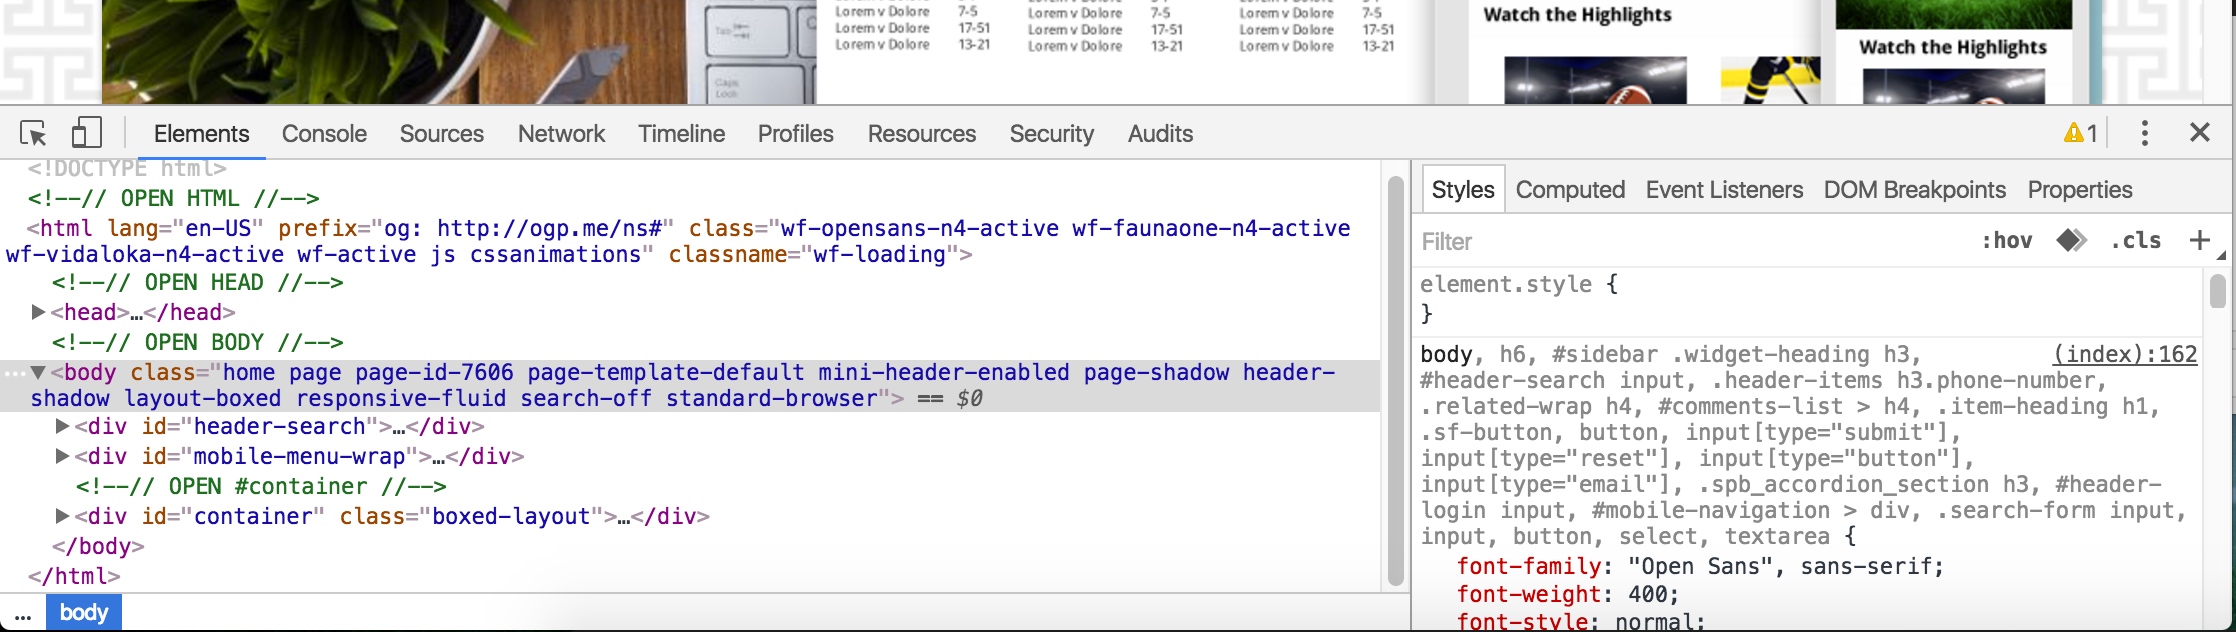
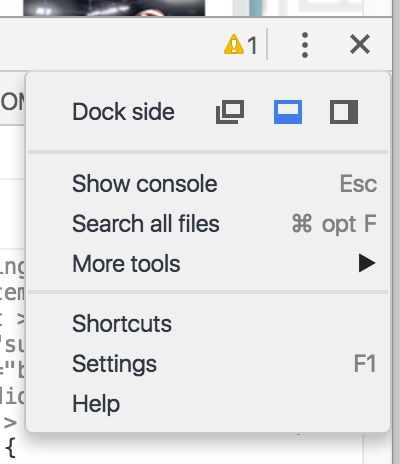
By default, developer tools attaches to the bottom of your browser window (which consequently shortens the length of the content in the browser window). You can also attach it to the right-hand side of your browser, or split it off into a separate window. You can do this by clicking the three dots at the top-right of the developer tools pane and choosing a different option from the dock side list.
Simulating Other Devices
Please note I said simulating and not emulating. This is because Chrome will do the best to simulate how a touch screen works and what the viewport looks like - but this is not the same as using the actual hardware or emulator software.
In order to simulate a different device in developer tools, it’s a simple click or two. (And I suppose this goes without saying, make sure your browser has loaded the website you want to test.) To start the process, click the two rectangle icons on developer tools (which look like a phone and tablet). This will change the main window to the simulator screen (you’ll notice that it probably changed size already.)
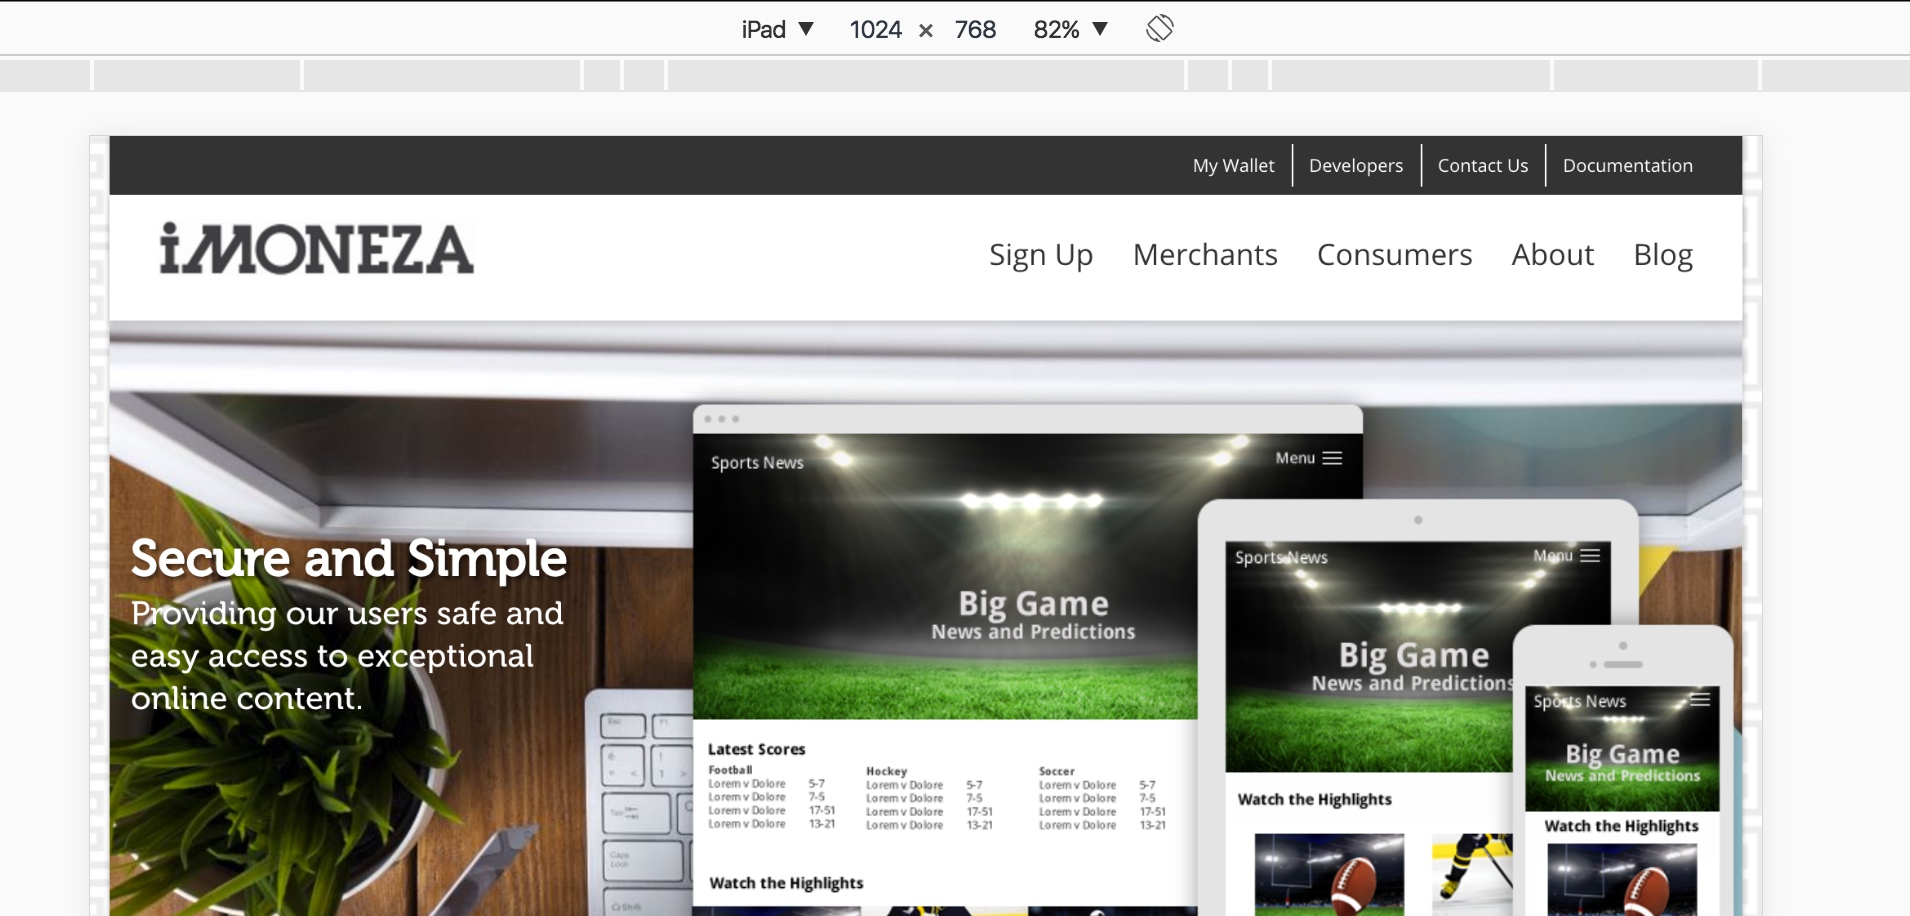
In my example, the site has been loaded with an iPad size. At the top, you’ll notice from left to right, the following things:
-
A drop down with a name of a product. You can choose one of the many sizes/screen interfaces that Chrome has loaded. For example, load up an iPad, then an iPhone 6 and see the difference.
-
Screen size. This shows the standard screen size for the chosen simulated item.
-
A zoom factor. Sometimes its easier to see the content if its zoomed out, or zoomed in.
-
Orientation icon. Since most mobile devices allow both portrait and landscape, you can click this to toggle between.
If you want to test something besides just the items in the drop down, you can choose the drop down and click edit. There you’ll see the large set of devices you can simulate.
Besides quick screen-size changes, the simulator also changes the clicks to touch-events. You’ll notice that the mouse turns to a finger sized circle, and that hover-over items do not work (as there is no hovering yet in mobile).
Testing With Different Internet Speeds
It’s important to test with different internet speeds - I mean, not everyone has the mega cable internet or fiber connection you have. It’s important to know where your audience resides in the average internet speed realm (meaning, do you have mainly people with dial-up or do you expect only broadband users to use this - and then what type of broadband and what speed).
So, to change or throttle your internet speed in developer tools, select the Network tab on the top of the developer tools pane.
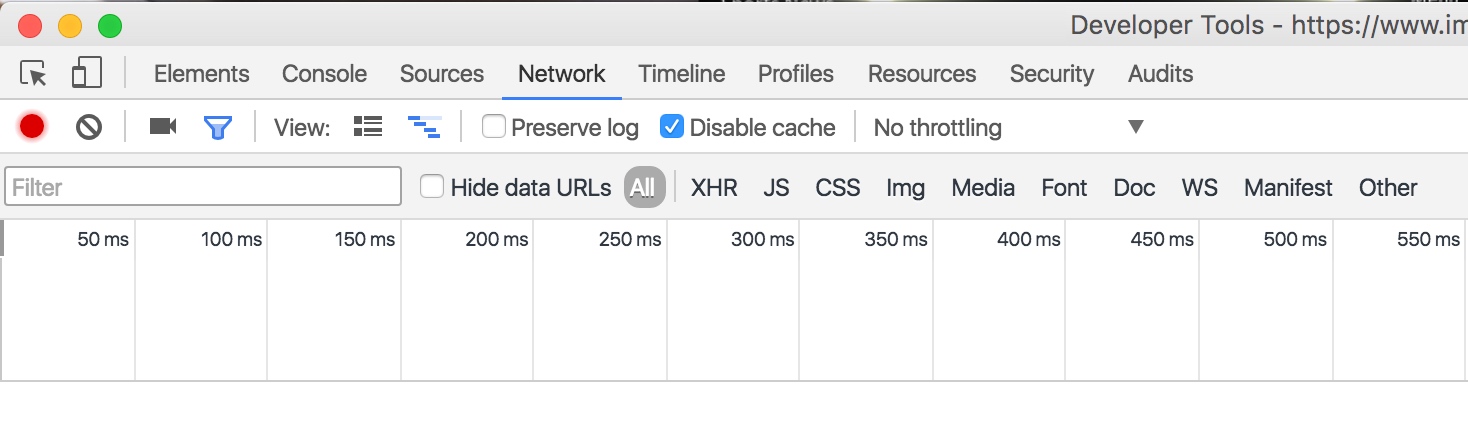
In the menu row below, there is a drop down that is set to ‘No throttling’ - click this and choose a different speed setting.

Here you’ll see different speed options. I suggest using no throttling for one test, using a DSL connection, and then using something like a regular 2G connection at least.
End Notes
So, the best way to test these things is with the real hardware and with different internet connections. However, if you don’t have access to these things, or you want to do one quick check, this should do the trick for you.